Draw Multi Legged Route

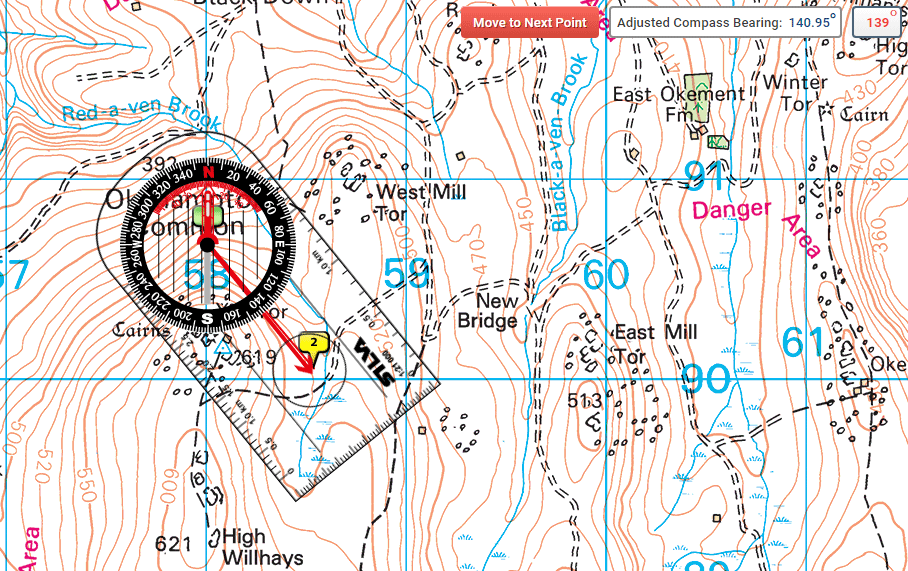
Clicking on the 'Draw Route' button will plot and draw a route to a marker at your selected point of destination. This is Yellow Marker 2 in the example below.
Click the 'Move to Next Point' button to move the compass to the next point, Yellow Marker 2 in this example.
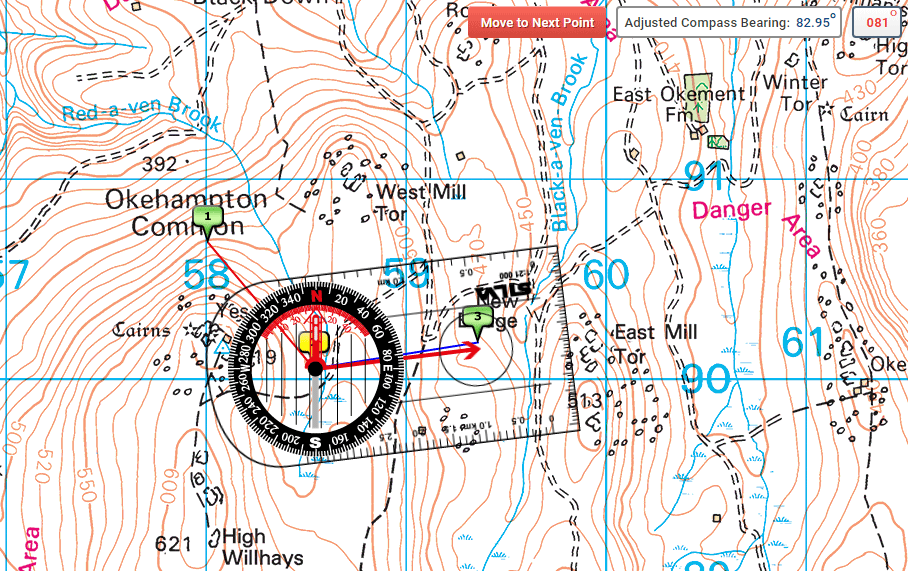
At Yellow Marker 2, plan a new leg then click 'Draw Route' to set a new marker - Green Marker 3 in the example below.
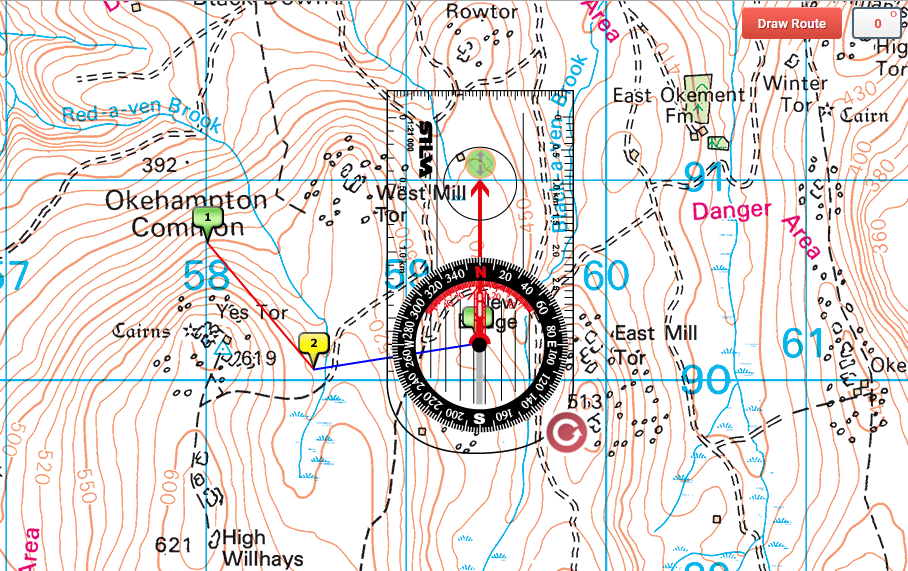
Click the 'Move to Next Point' button to move the compass to the next point, Green Marker 3, and the three-legged route appears as shown below:
The route may now be saved and printed, or more legs added as required.
After saving the route and closing the Compass Tool, new legs may be added later by importing the route using the 'Import Route' menu button. The imported route will appear as Image 3 above.
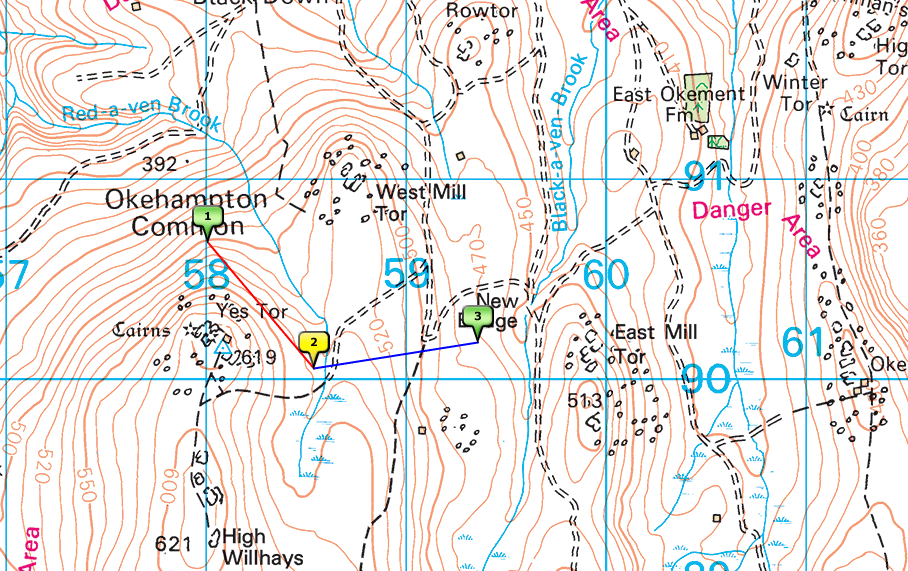
You may hide the compass by clicking the 'Hide Compass' button as shown below. With the compass hidden, the Menu and Draw Route buttons will disappear.
The 'Show Compass' button will return the compass to its position in Image 3 above and the Menu and Draw Route buttons will reappear.
Click the 'Move to Next Point' button to move the compass to the next point, Yellow Marker 2 in this example.

Image 1: click the 'Move to Next Point' button to move the compass to the next point
At Yellow Marker 2, plan a new leg then click 'Draw Route' to set a new marker - Green Marker 3 in the example below.

Image 2: Plotting the third leg of a three-legged route
Click the 'Move to Next Point' button to move the compass to the next point, Green Marker 3, and the three-legged route appears as shown below:

Image 3: The completed three-legged route
The route may now be saved and printed, or more legs added as required.
After saving the route and closing the Compass Tool, new legs may be added later by importing the route using the 'Import Route' menu button. The imported route will appear as Image 3 above.
You may hide the compass by clicking the 'Hide Compass' button as shown below. With the compass hidden, the Menu and Draw Route buttons will disappear.

Image 4: The three-legged route with the compass hidden.
The 'Show Compass' button will return the compass to its position in Image 3 above and the Menu and Draw Route buttons will reappear.